Hello everyone!🙂
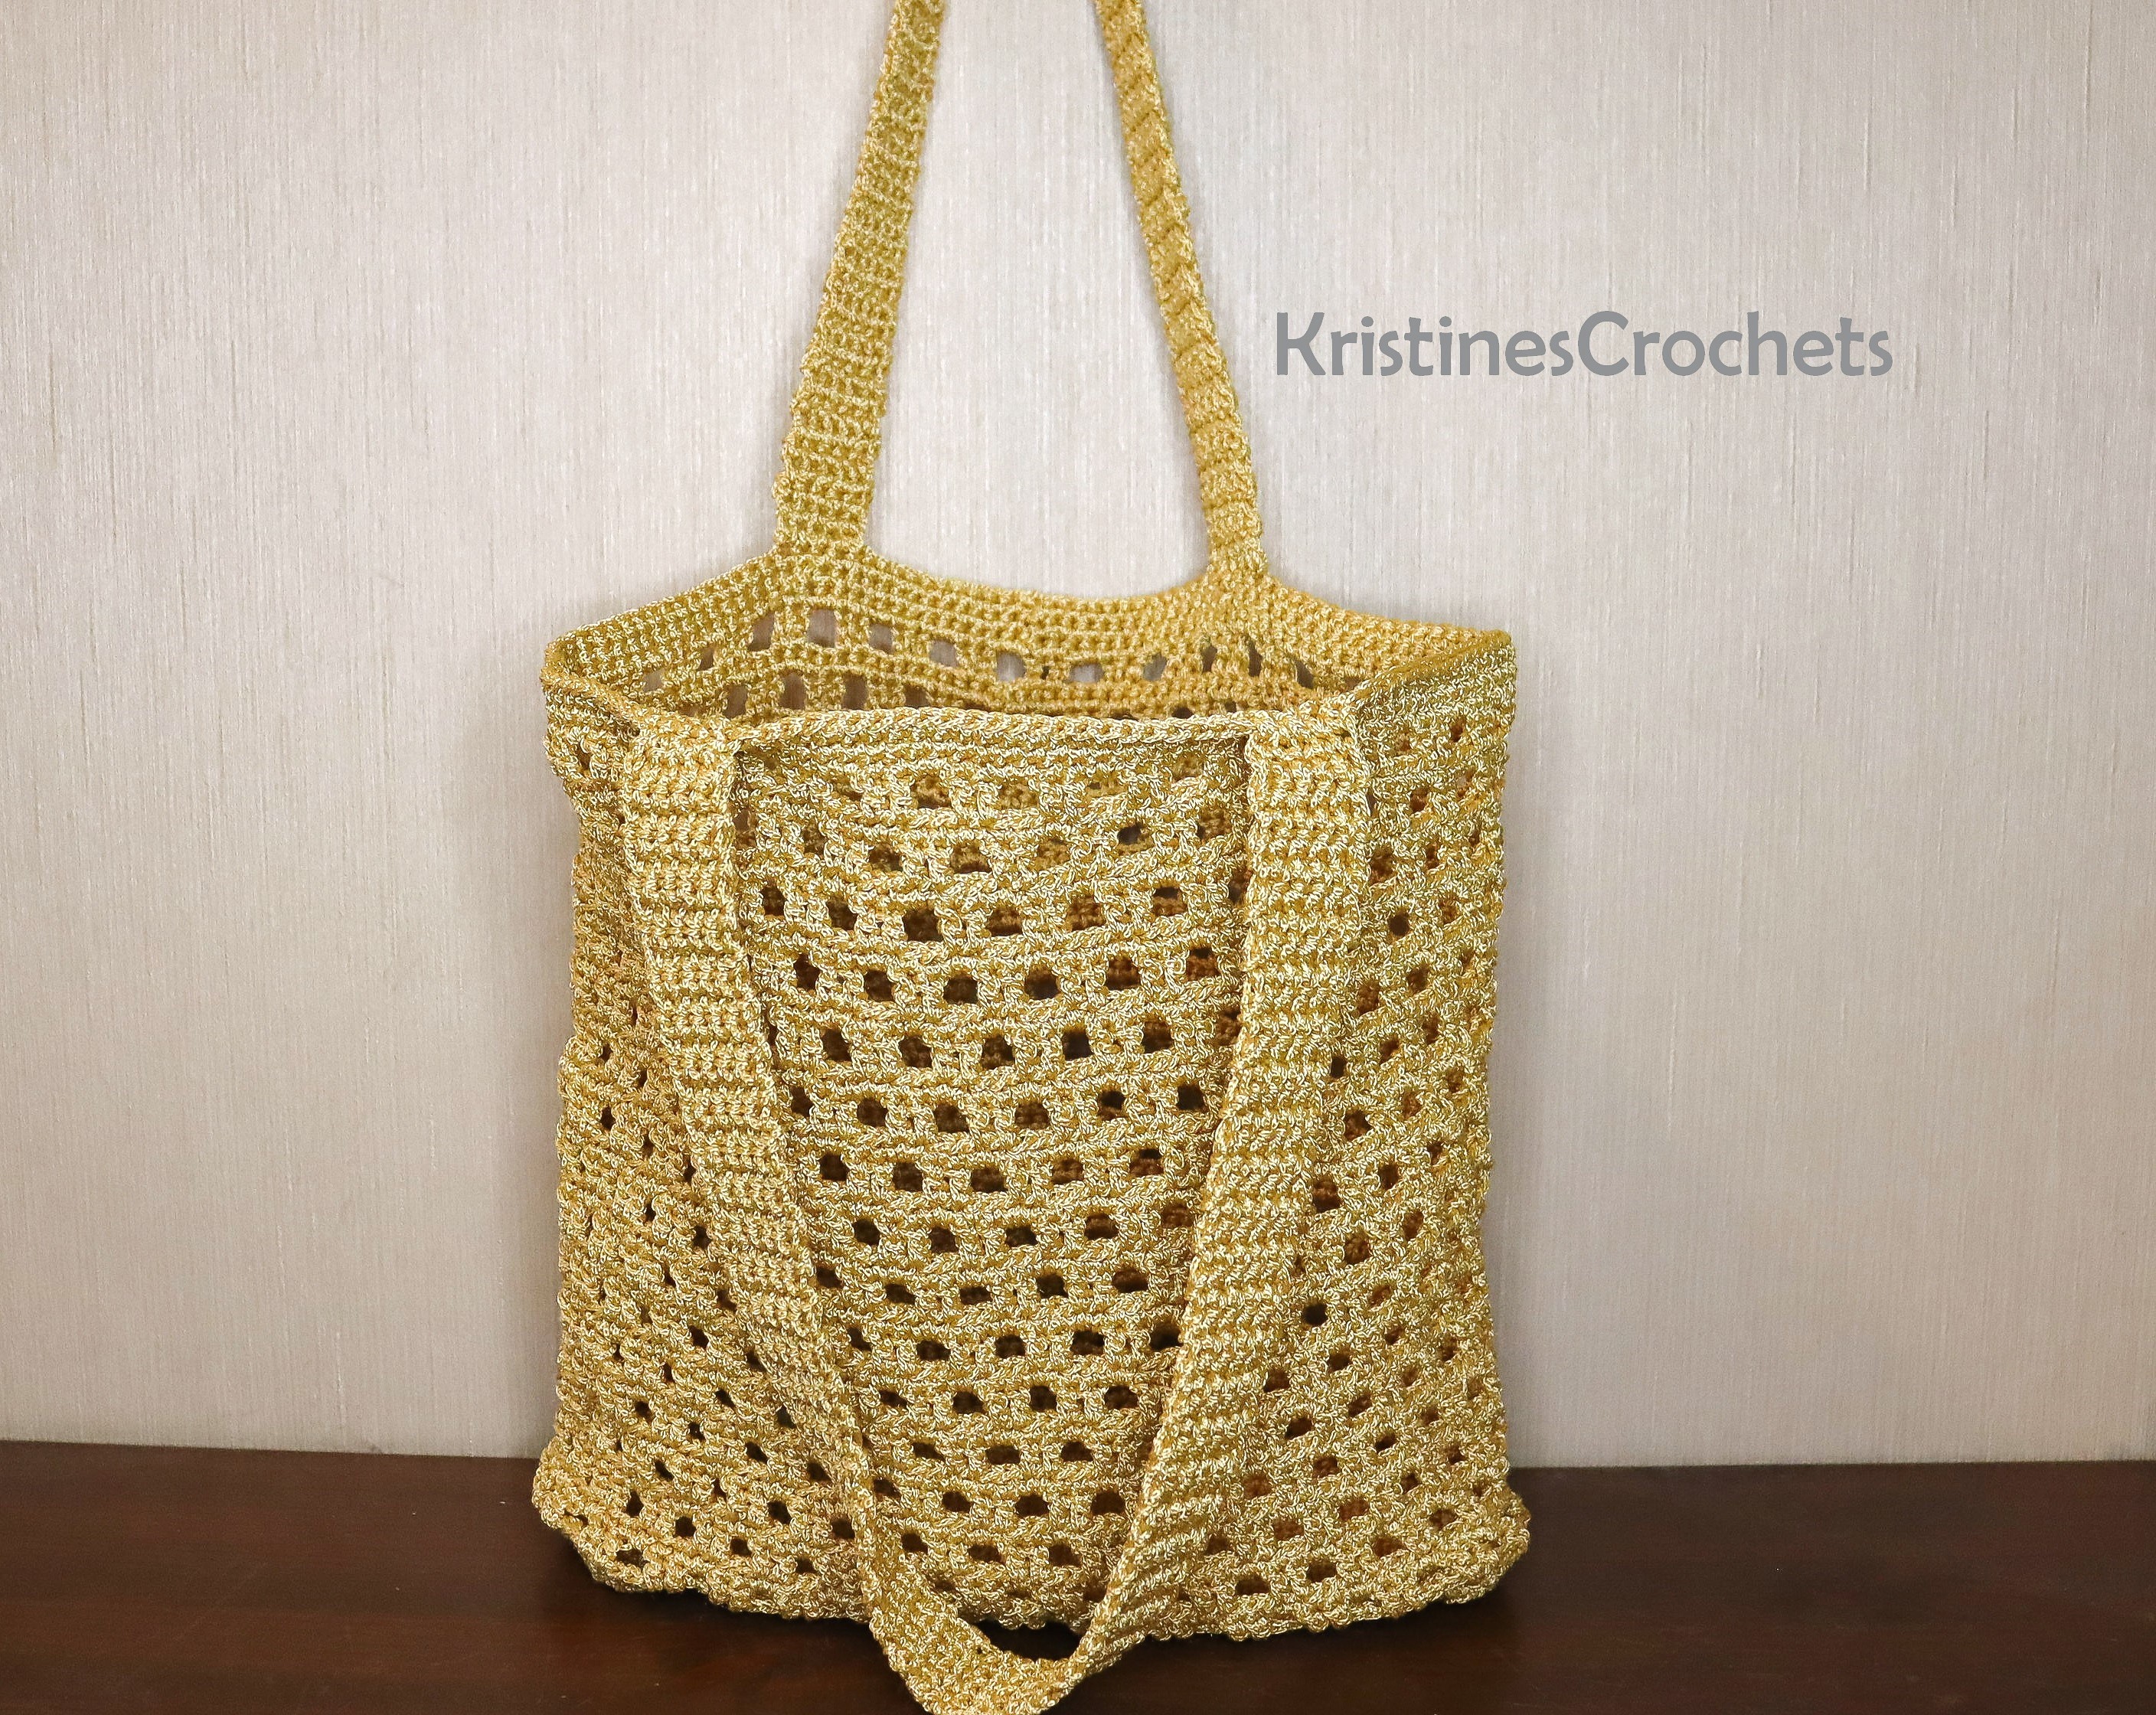
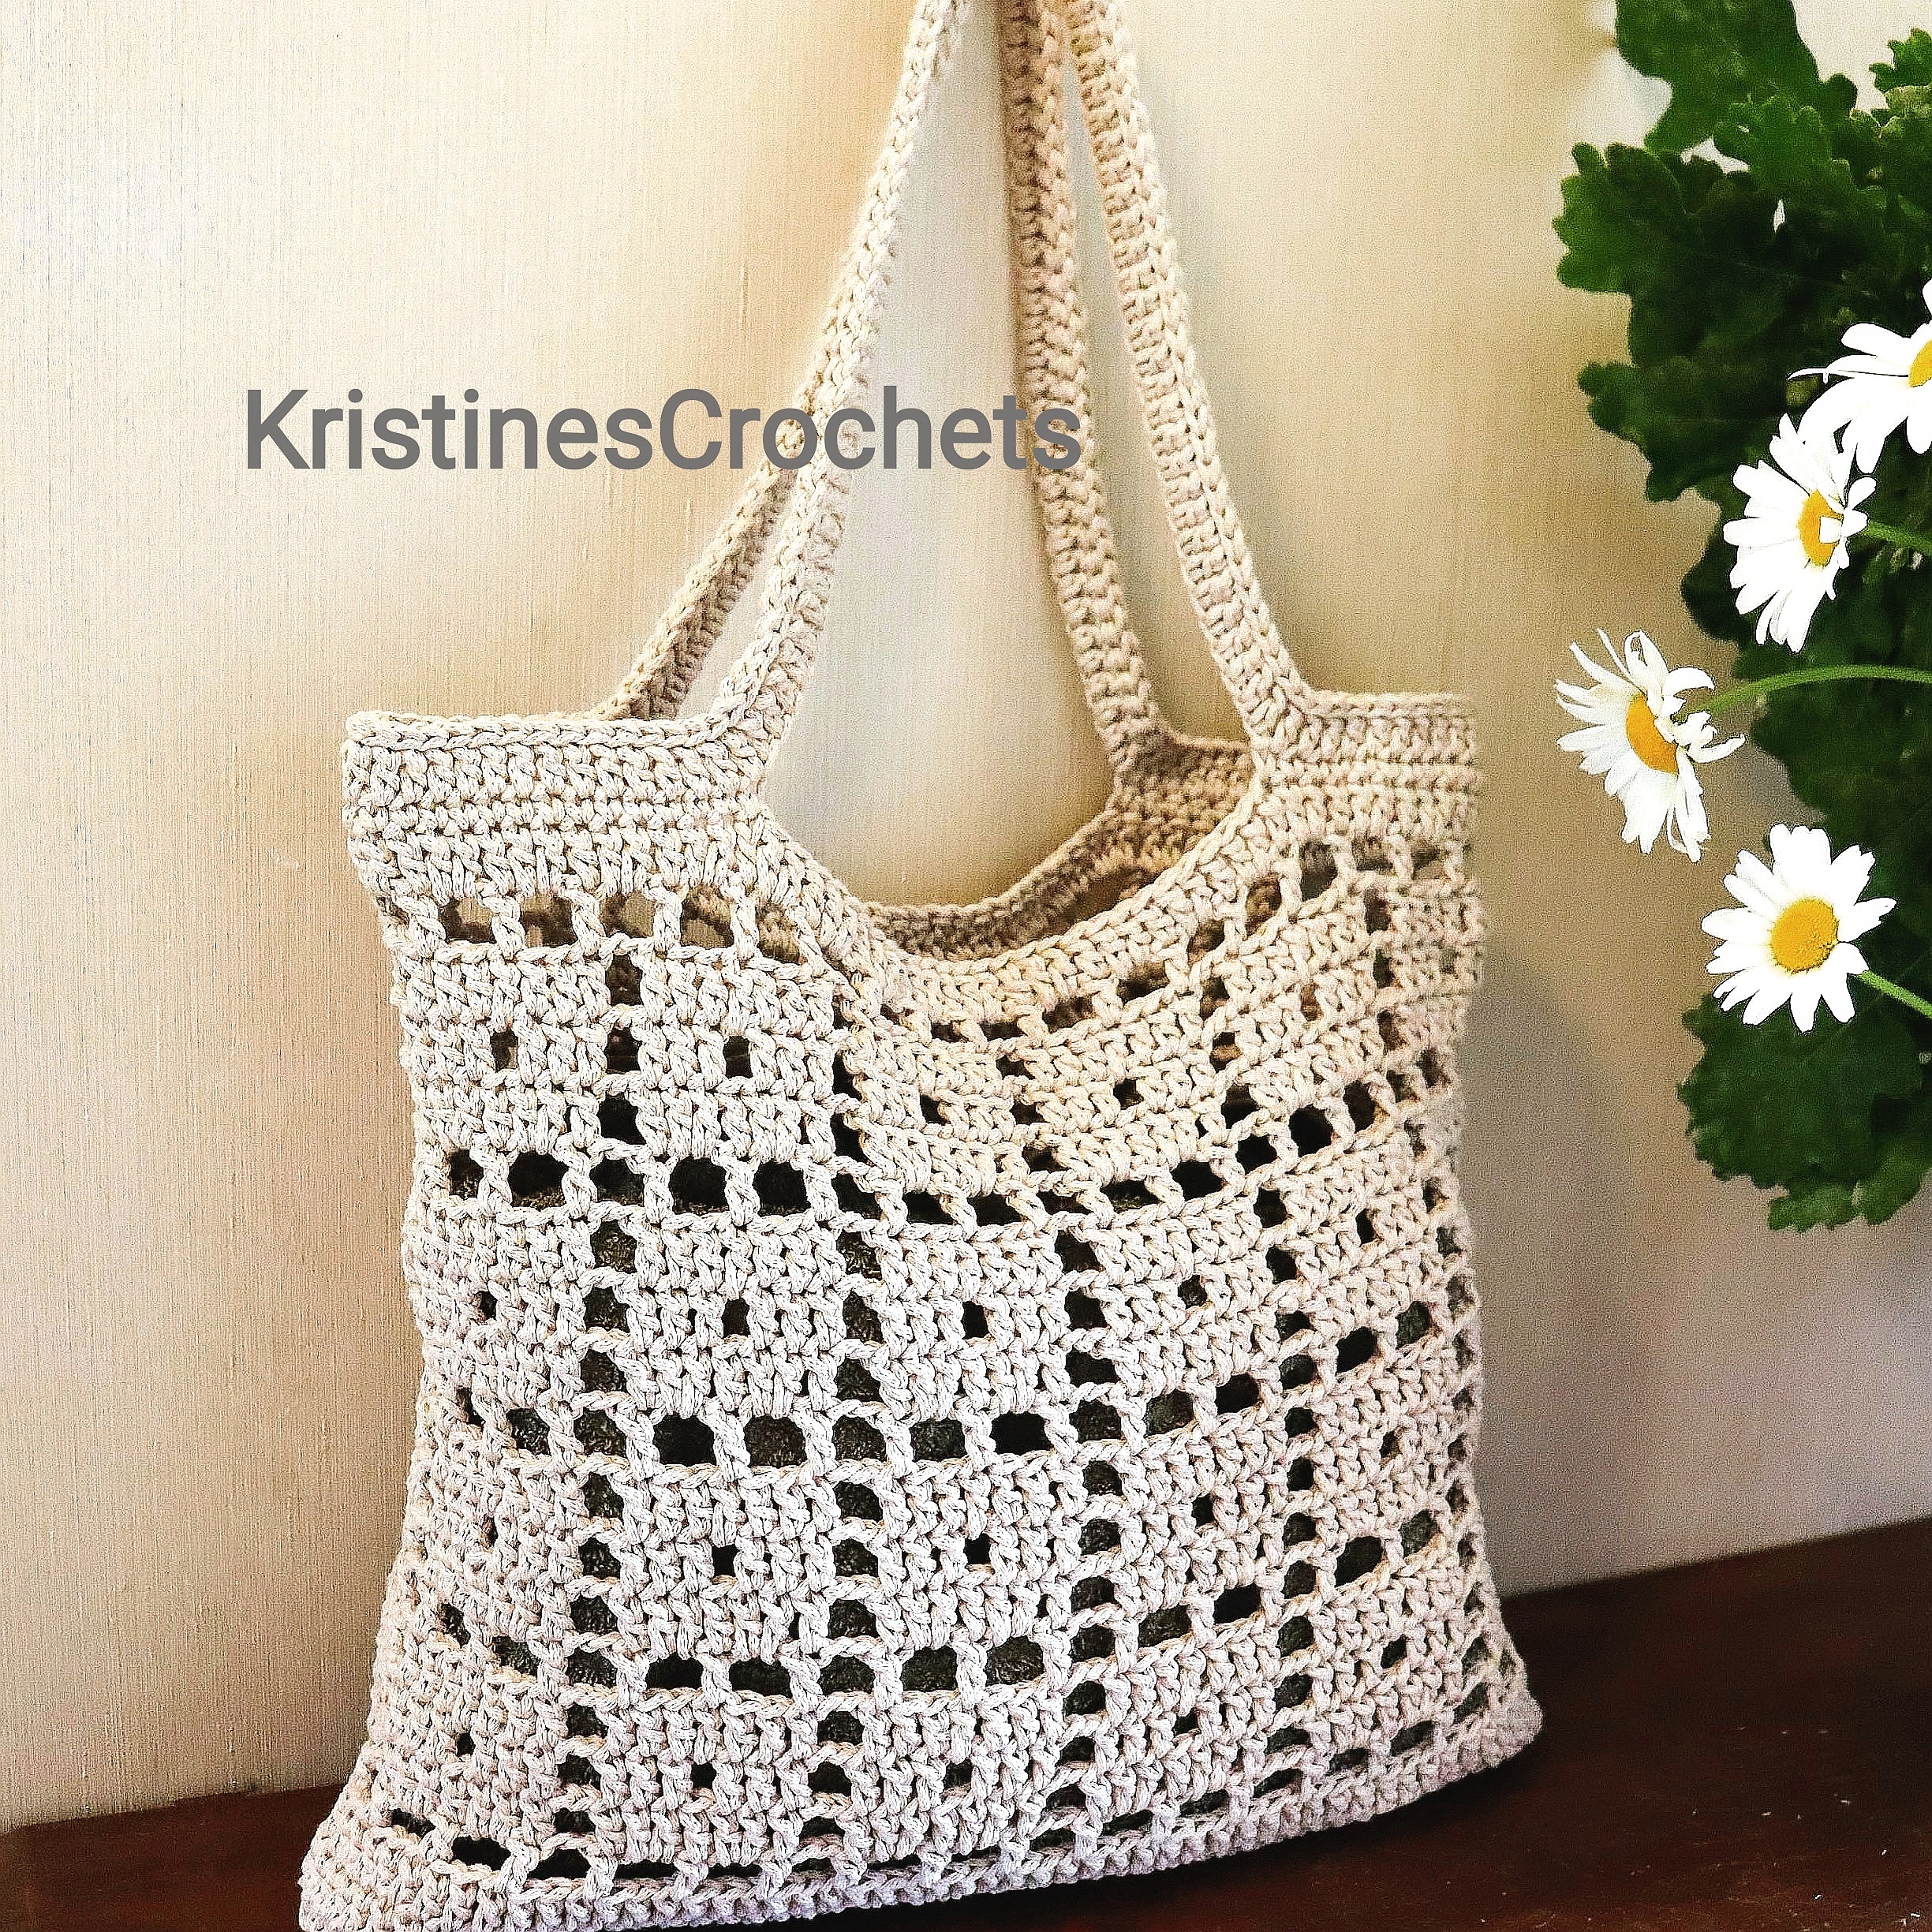
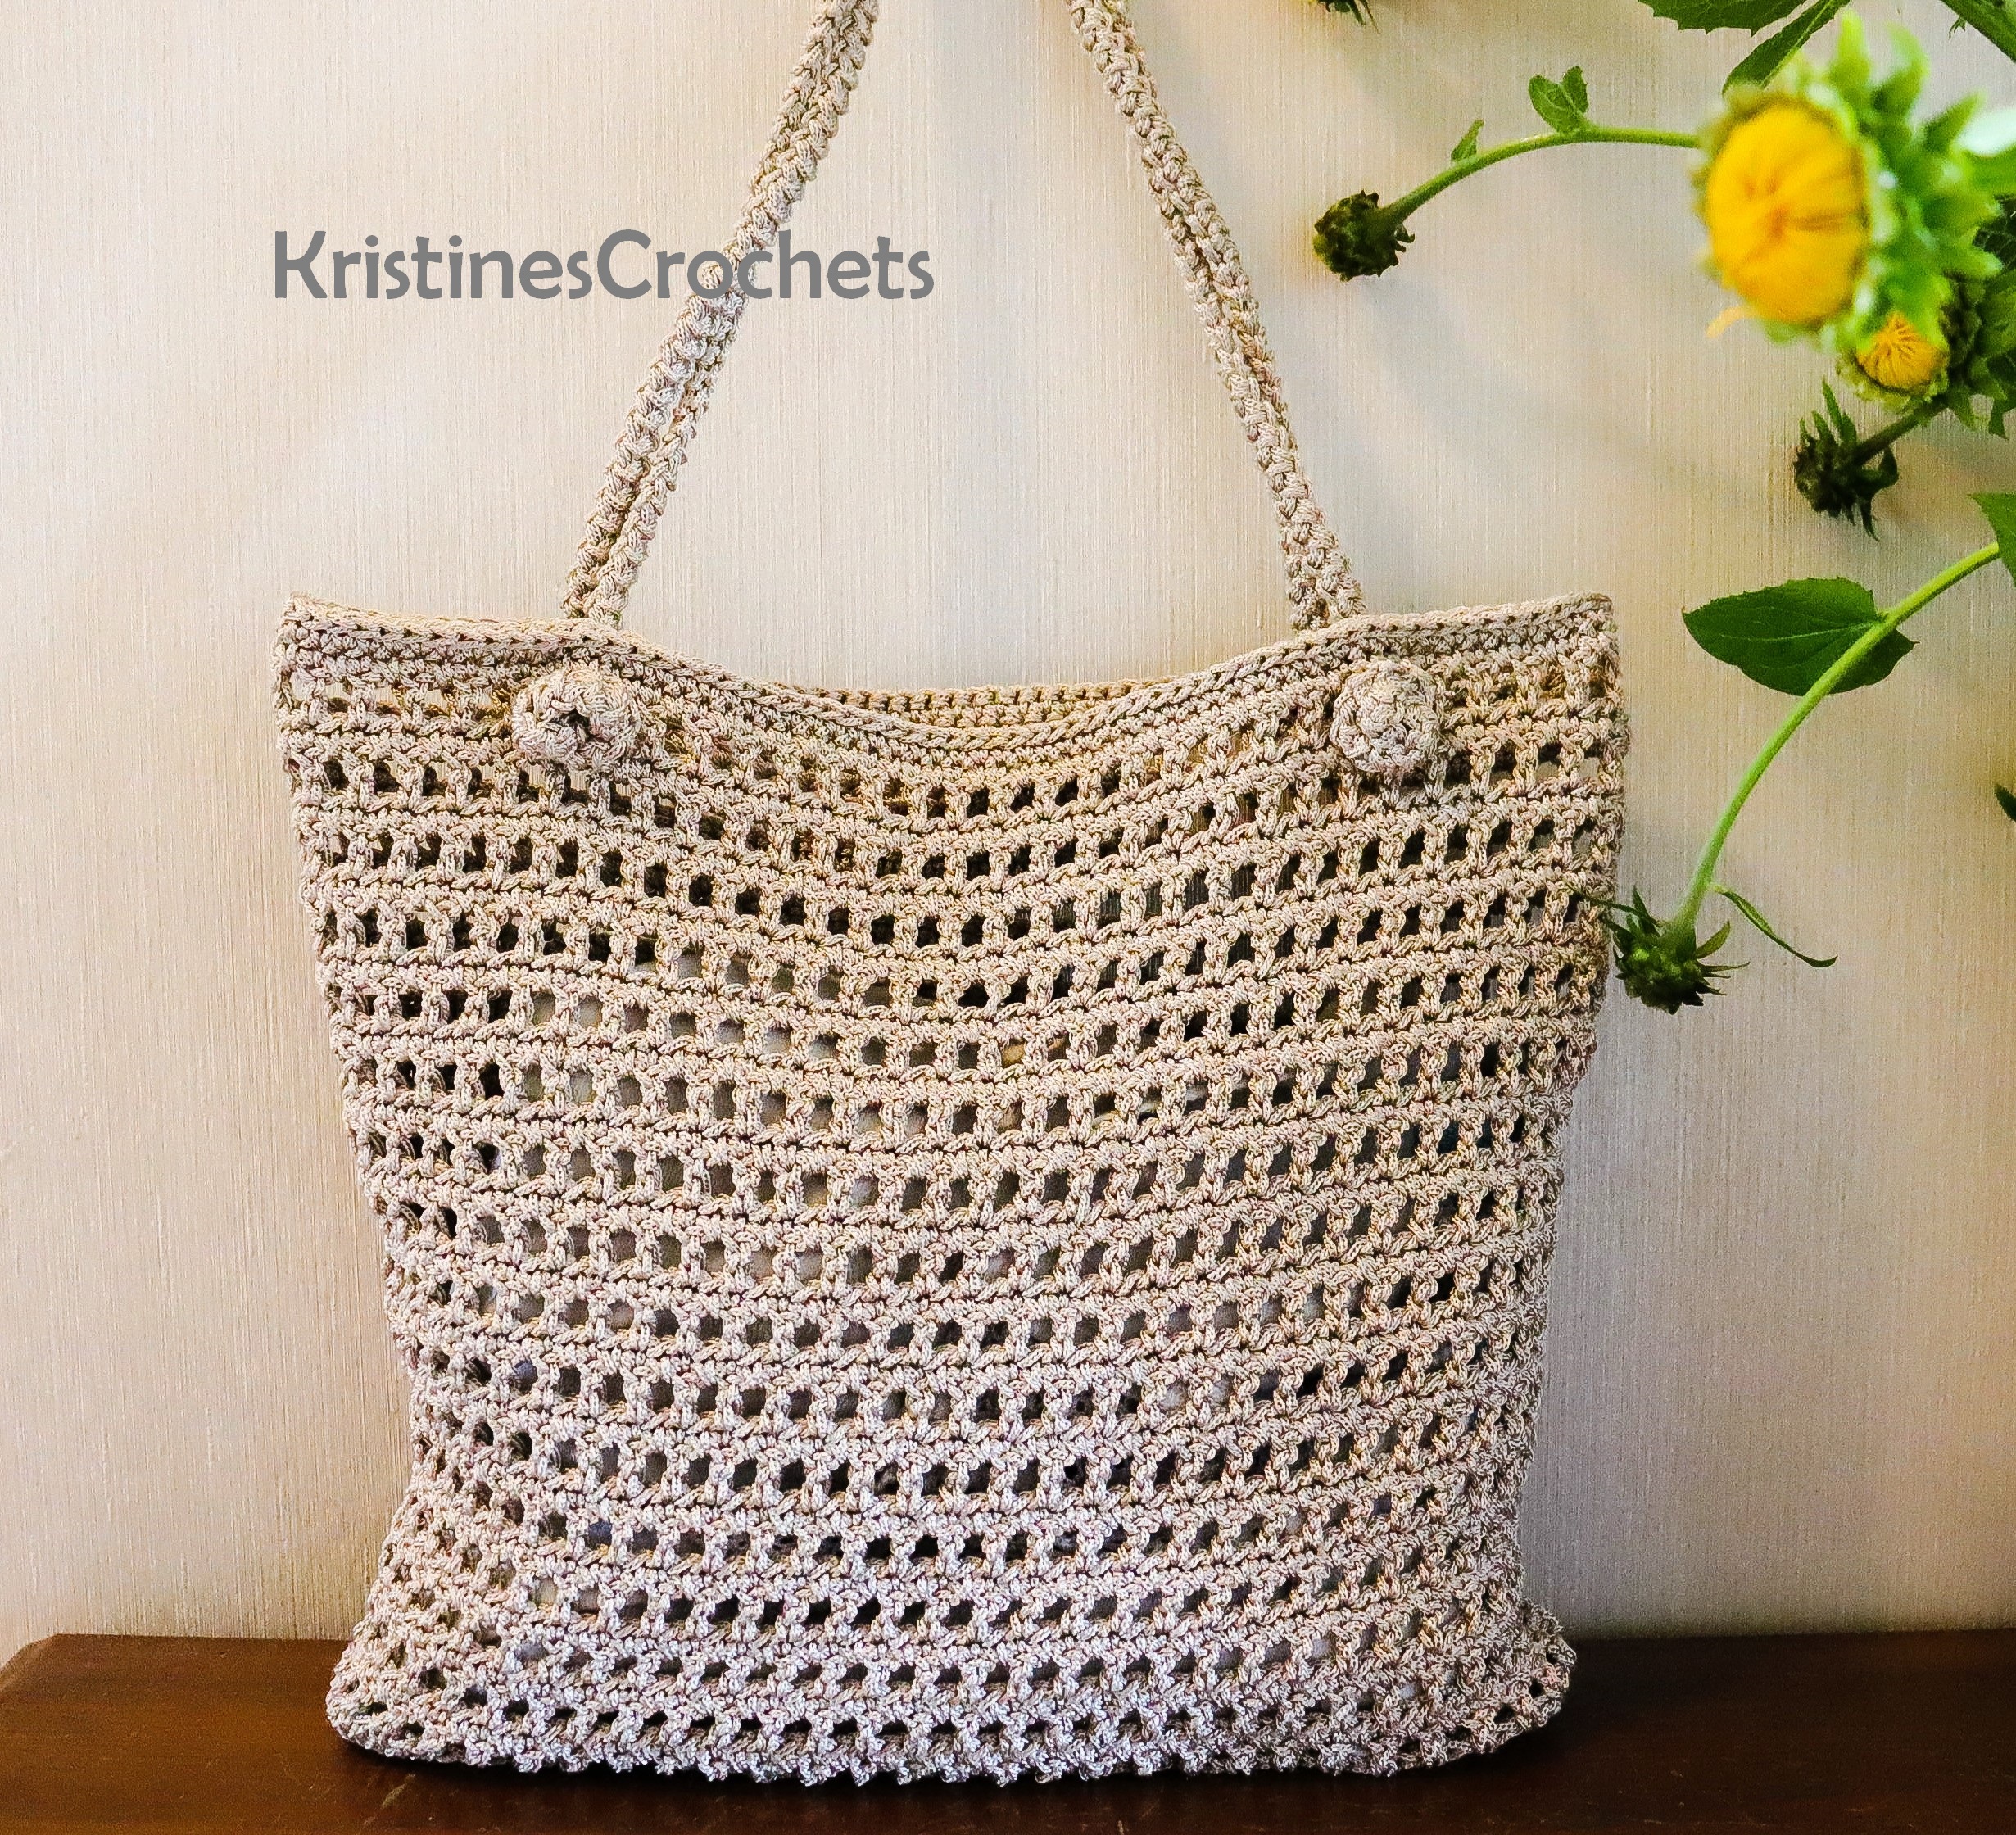
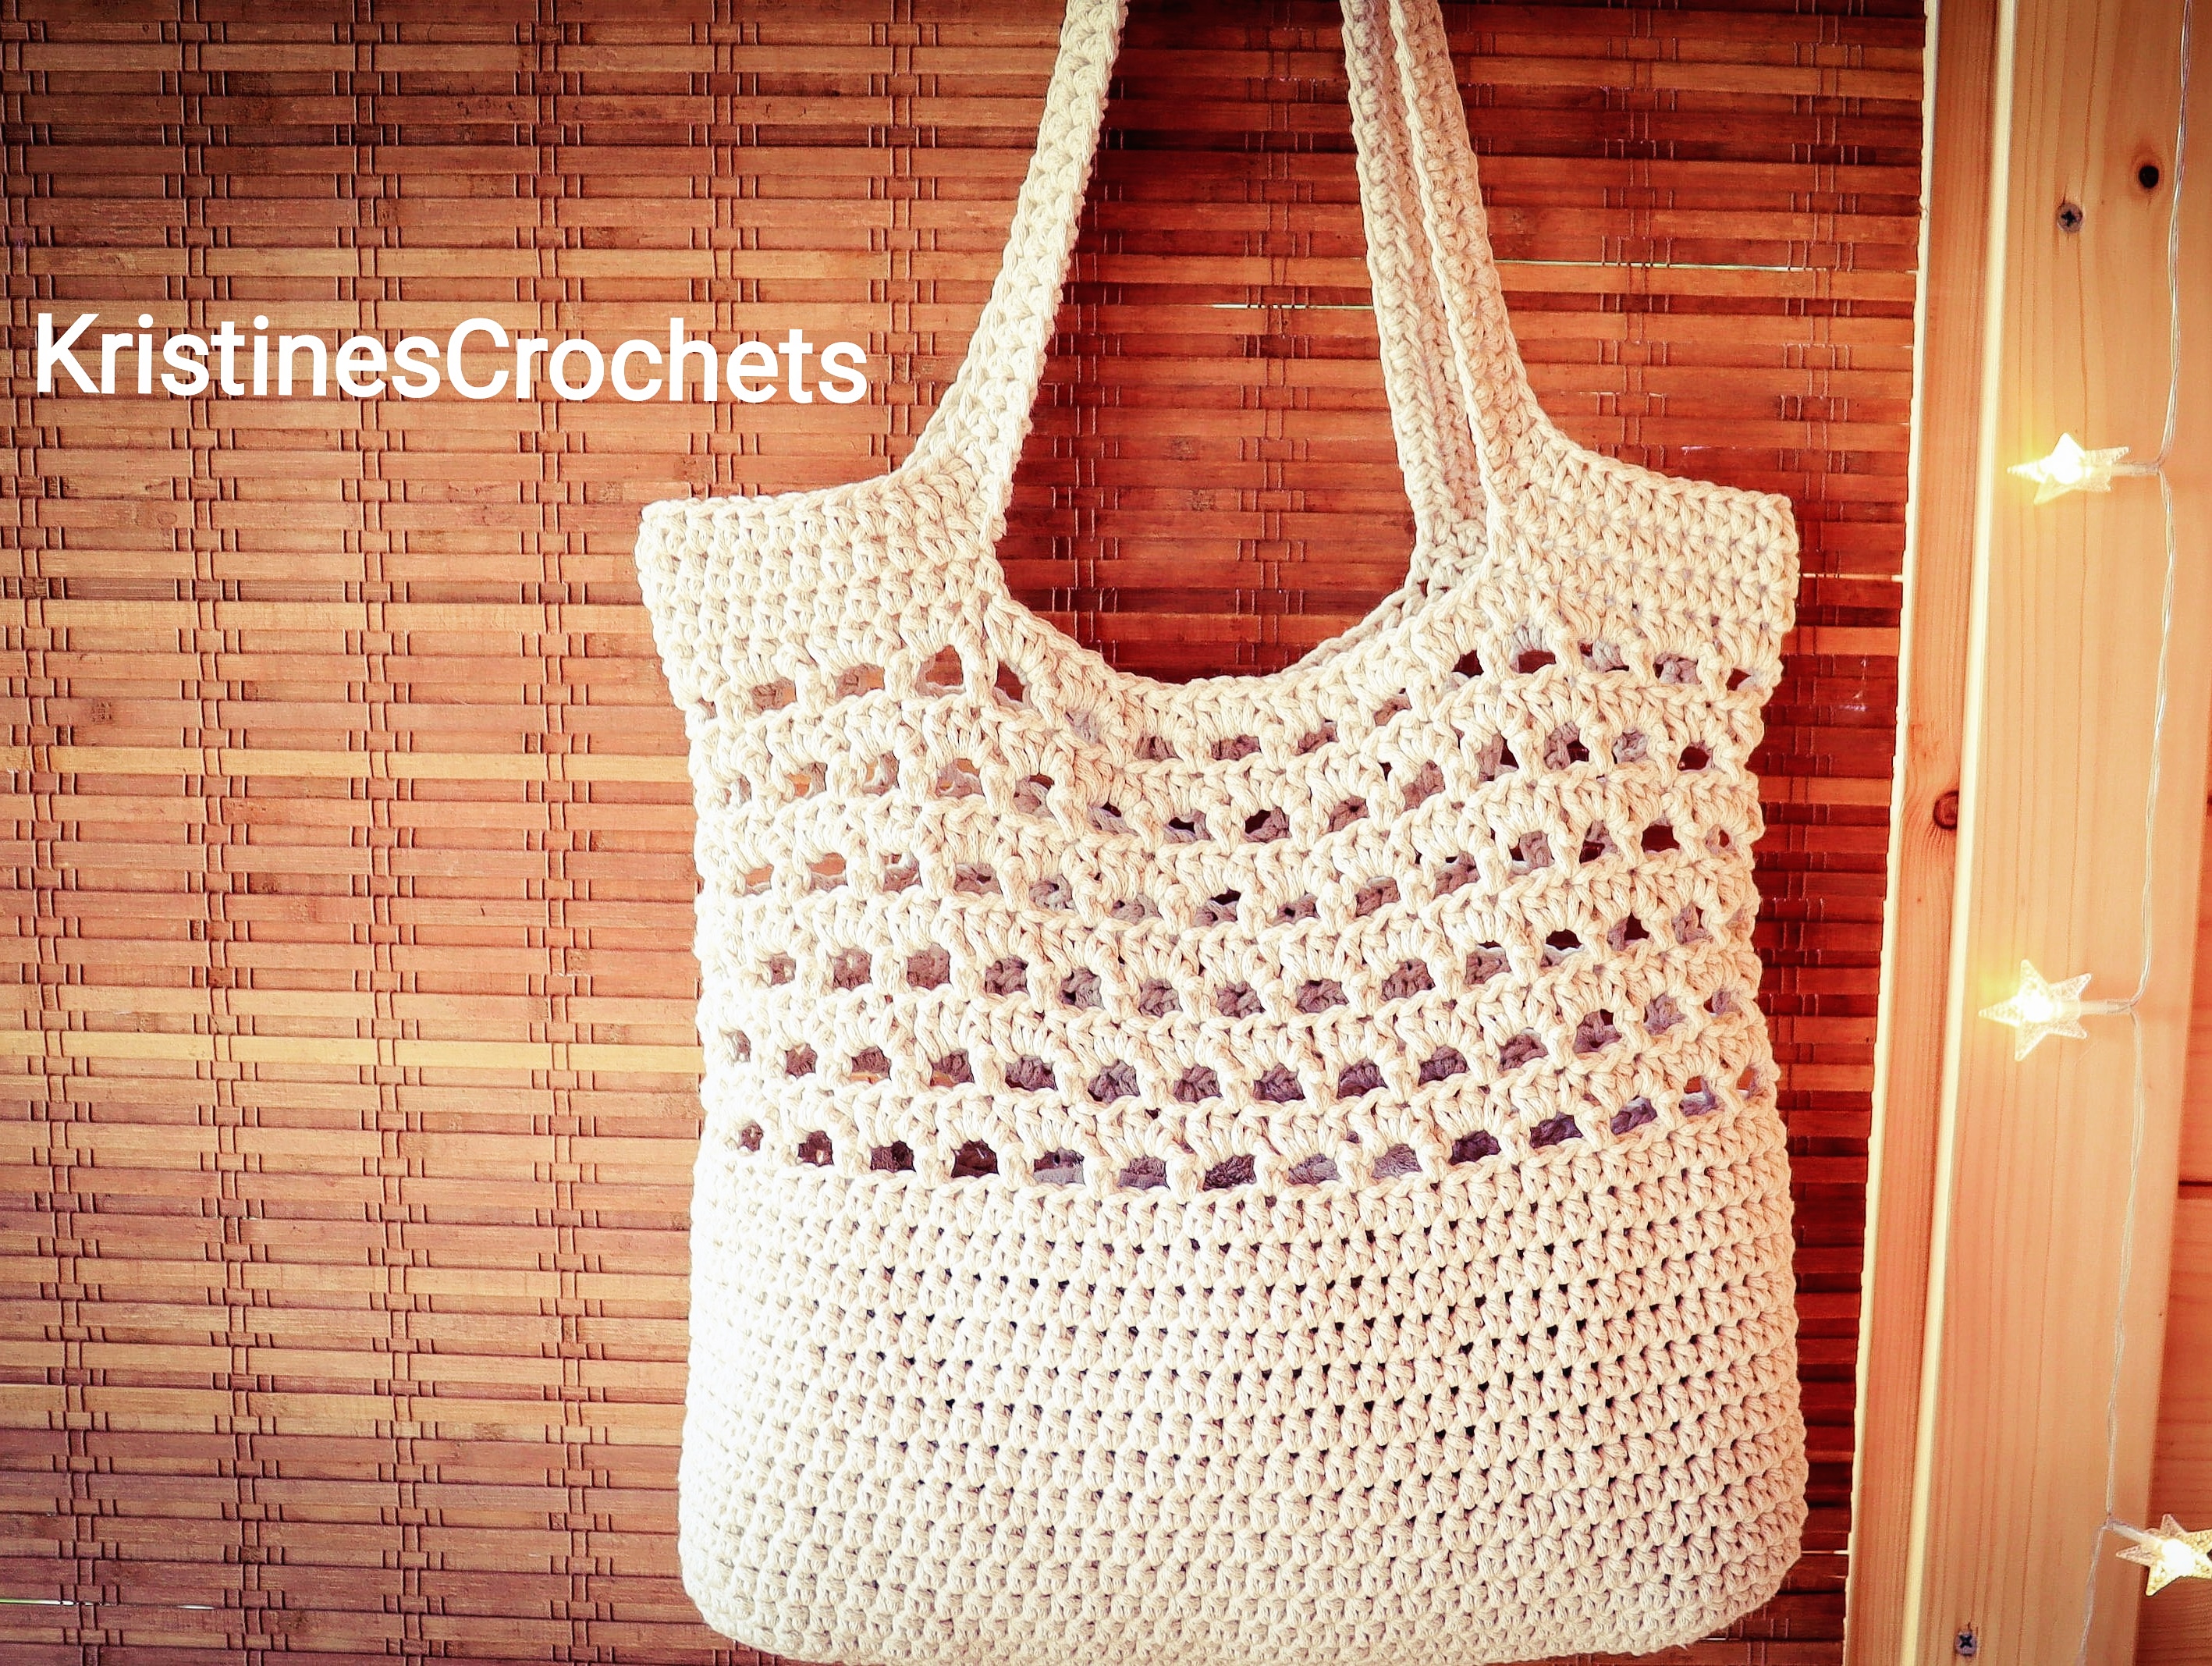
Today I'm sharing my Picot Net Tote Bag crochet pattern with you. It's perfect for market trips, beach trips, day trips, etc.
This pattern is written for those with basic crochet knowledge.To make this tote bag, you should be familiar with basic crochet stitches and terminology. You should know how to crochet in the round as well as how to work in back and forth rows.
I used Worsted / Aran weight (#4) cord type yarn (you can also use a 3 mm crochet cord instead) and a 4,5 mm crochet hook.
If you prefer to learn by watching, I have a video tutorial below. Or scroll down to view the written pattern!
Happy Crocheting! 😊
Happy Crocheting! 😊
Finished Size (lying flat):
Height with handle strap: 55 cm (21,7'');
Height without handle strap: 29 cm (11,4'');
Width: 38 cm (15'');
Depth: 24cm (9,5'').
Skill Level: Easy to Intermediate
Materials Used:
- Worsted - Aran weight cord type yarn, size 4 - medium. I used YarnArt Macrame Cotton - (250 grams / 225 meters) - 80% Cotton, 20% Polyester in color 767 (powder pink). 2 skeins (approx 420 grams / 380 meters) needed for this pattern.
- 4,5 mm crochet hook.
- Scissors.
- Yarn needle.
Abbreviations (US terms):
sp. - space
sk - skip
st./sts - stitch / stitches
ch - chain
sl st. - slip stitch
sc - single crochet
hdc - half double crochet
dc - double crochet
ch3picot - chain 3 picot - ch3, insert your hook into the center of the base stitch (or, into 3rd ch from hook), yarn over, pull through all loops on the hook.
( )* - repeat the instructions between the parentheses the number of times indicated.
Instructions:
Start with ch5, sl st. into first ch to form a ring. Or, you can make a magic (adjustable) ring.
Round 1: ch2 (doesn't count as st.), 12dc into ring.
Join with a sl st. into first dc. (12 dc)
Join with a sl st. into first dc. (12 dc)
Round 2: ch2 (doesn't count as st.), 2dc into same st., 2dc into each st. around.
Join with a sl st. into first dc. (24 dc)
Round 3: ch2 (doesn't count as st.), 1dc into same st., 2dc into next st.,
(1dc into next st., 2dc into next st.)* repeat 11 times around.
Join with a sl st. into first dc. (36 dc)
Round 4: ch2 (doesn't count as st.), 1dc into same st., 1dc into next st., 2dc into next st.,
(1dc into next 2 sts, 2dc into next st.)* repeat 11 times around.
Join with a sl st. into first dc. (48 dc)
Round 5: ch2 (doesn't count as st.), 1dc into same st., 1dc into next 2 sts, 2dc into next st.,
(1dc into next 3 sts, 2dc into next st.)* repeat 11 times around.
Join with a sl st. into first dc. (60 dc)
Round 6: ch2 (doesn't count as st.), 1dc into same st., 1dc into next 3 sts, 2dc into next st.,
(1dc into next 4 sts, 2dc into next st.)* repeat 11 times around.
Join with a sl st. into first dc. (72 dc)
Round 7: ch2 (doesn't count as st.), 1dc into same st., 1dc into next 4 sts, 2dc into next st.,
(1dc into next 5 sts, 2dc into next st.)* repaet 11 times around.
Join with a sl st. into first dc. (84 dc)
Round 8: ch2 (doesn't count as st.), 1dc into same st., 1dc into next 5 sts, 2dc into next st.,
(1dc into next 6 sts, 2dc into next st.)* repeat 11 times around.
Join with a sl st. into first dc. (96 dc)
Round 9: ch2 (doesn't count as st.), 1dc into same st., 1dc into each st. around.
Join with a sl st. into first dc. (96 dc)
Round 10: ch1 (doesn't count as a st.), 1sc into same st., ch3picot,
(ch4, sk next 2 sts, 1sc into next st., ch3picot)* repeat 31 times around.
Ch1, join with 1hdc into first sc.
Round 11: ch1 (doesn't count as s st.), 1sc into same (ch1 + 1hdc) sp. of previous round, ch3picot,
(ch4, 1sc into next ch4 sp., ch3picot)* repeat 31 times around.
Ch1, join with 1hdc into first sc.
Round 12 - 22: Repeat Round 11!
Do not fasten off!
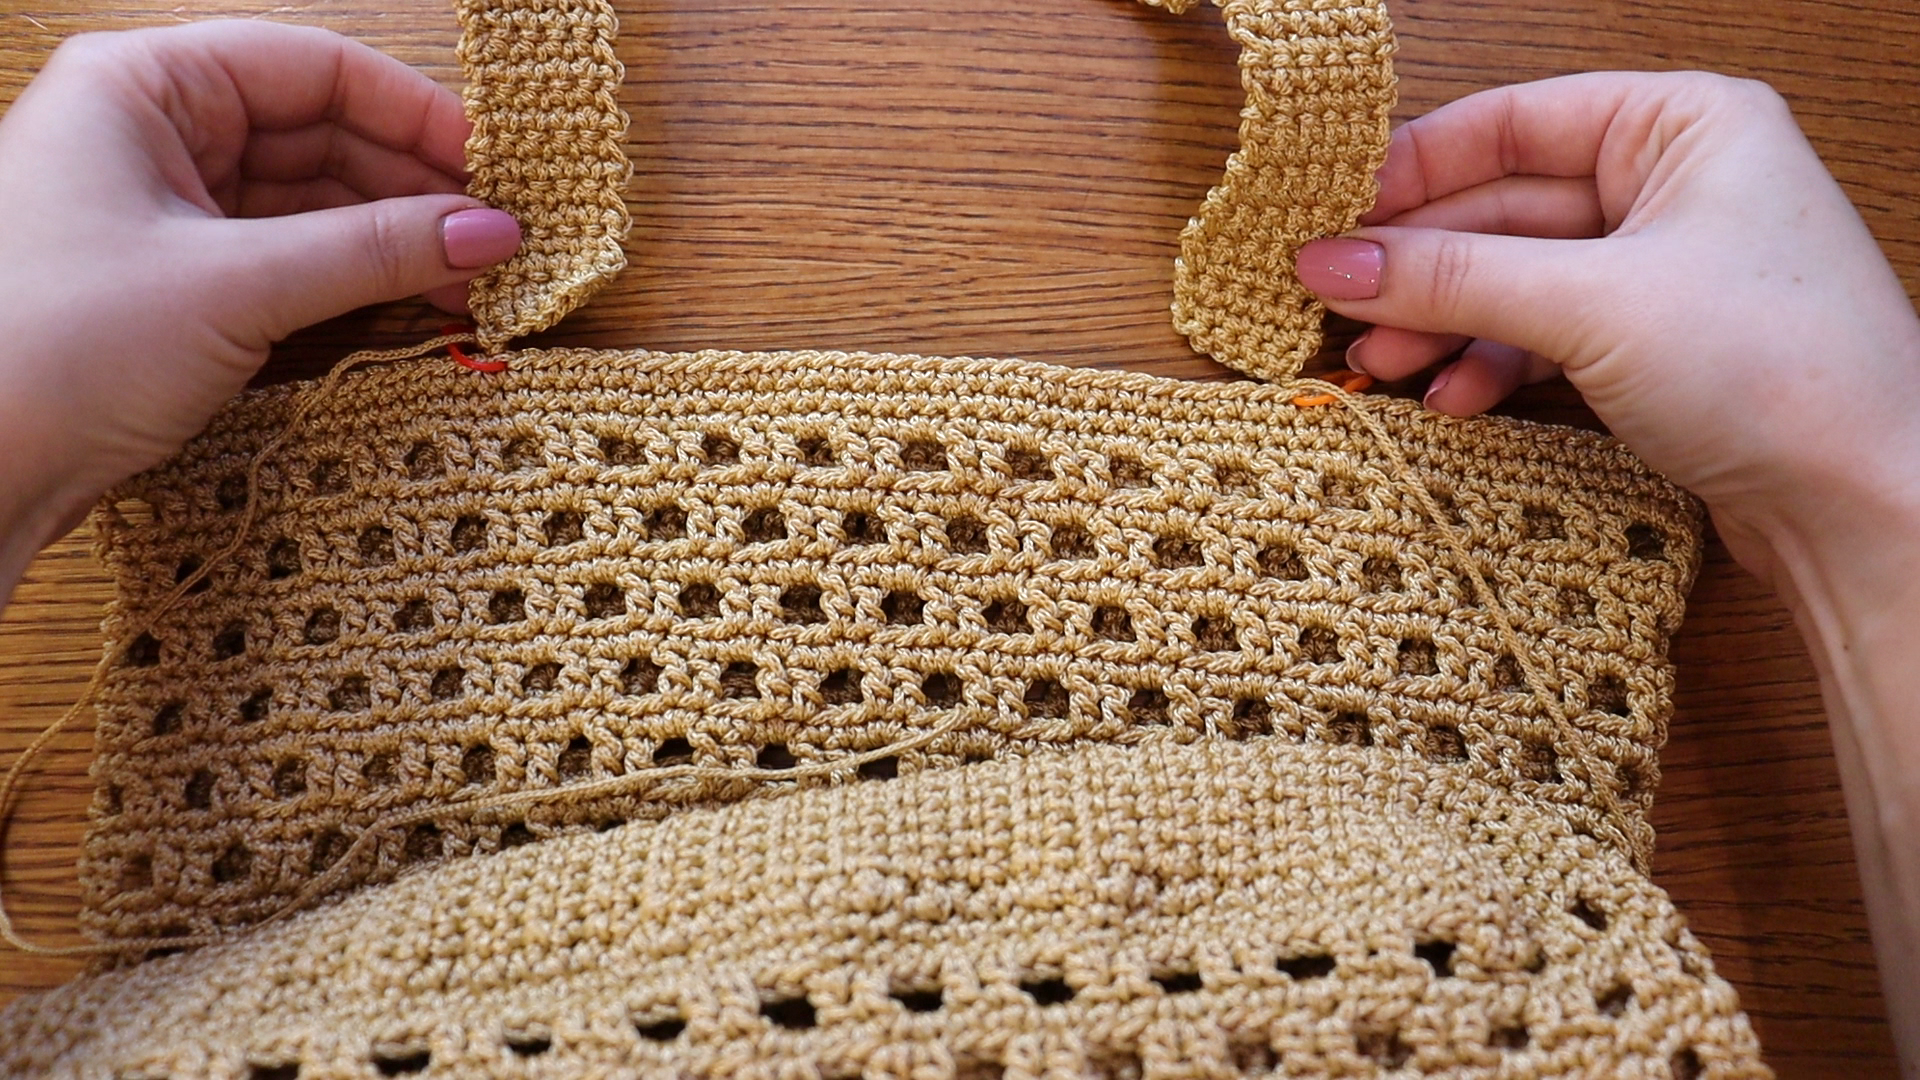
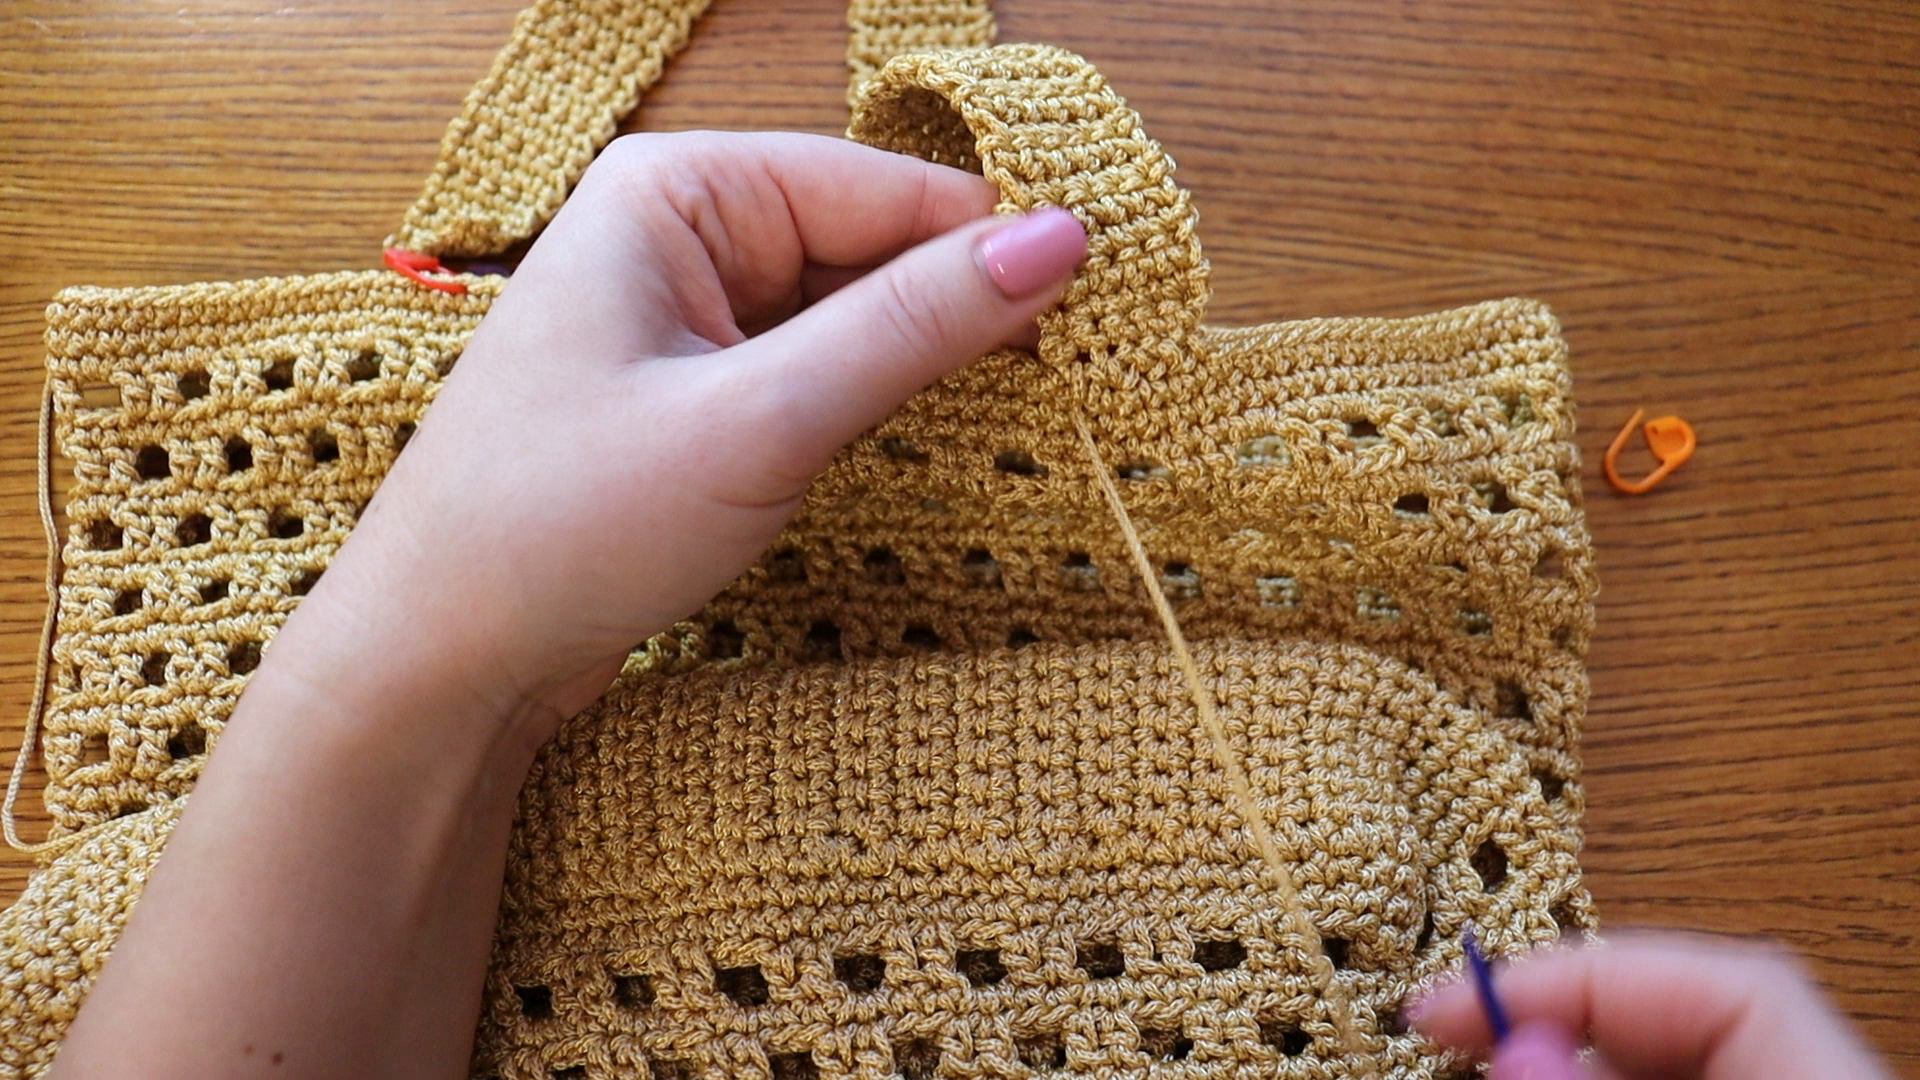
Handle straps:
First strap:
Row 1 (right side): (ch4, 1sc into next ch4 sp., ch3picot)* repeat 14 times,
ch1, 1dc into next ch4 sp.
Row 2 (wrong side): ch4, turn, 1sc into next ch4 sp., ch3picot,
(ch4, 1sc into next ch4 sp., ch3picot)* repeat 12 times,
ch1, 1dc into 2nd ch of last ch4.
Row 3: ch4, turn, 1sc into next ch4 sp., ch3picot,
(ch4, 1sc into next ch4 sp., ch3picot)* repeat 11 times,
ch1, 1dc into 2nd ch of last ch4.
Row 4: ch4, turn, 1sc into next ch4 sp., ch3picot,
(ch4, 1sc into next ch4 sp., ch3picot)* repeat 10 times,
ch1, 1dc into 2nd ch of last ch4.
Row 5: ch4, turn, 1sc into next ch4 sp., ch3picot,
(ch4, 1sc into next ch4 sp., ch3picot)* repeat 9 times,
ch1, 1dc into 2nd ch of last ch4.
Row 6: ch4, turn, 1sc into next ch4 sp., ch3picot,
(ch4, 1sc into next ch4 sp., ch3picot)* repeat 8 times,
ch1, 1dc into 2nd ch of last ch4.
Row 7: ch4, turn, 1sc into next ch4 sp., ch3picot,
(ch4, 1sc into next ch4 sp., ch3picot)* repeat 7 times,
ch1, 1dc into 2nd ch of last ch4.
Row 8: ch4, turn, 1sc into next ch4 sp., ch3picot,
(ch4, 1sc into next ch4 sp., ch3picot)* repeat 6 times,
ch1, 1dc into 2nd ch of last ch4.
Row 9: ch4, turn, 1sc into next ch4 sp., ch3picot,
(ch4, 1sc into next ch4 sp., ch3picot)* repeat 5 times,
ch1, 1dc into 2nd ch of last ch4.
Row 10: ch4, turn, 1sc into next ch4 sp., ch3picot,
(ch4, 1sc into next ch4 sp., ch3picot)* repeat 4 times,
ch1, 1dc into 2nd ch of last ch4.
Row 11: ch4, turn, 1sc into next ch4 sp., ch3picot,
(ch4, 1sc into next ch4 sp., ch3picot)* repeat 3 times,
ch1, 1dc into 2nd ch of last ch4.
Row 12: ch4, turn, 1sc into next ch4 sp., ch3picot,
(ch4, 1sc into next ch4 sp., ch3picot)* repeat 2 times,
ch1, 1dc into 2nd ch of last ch4.
Row 13: ch4, turn, 1sc into next ch4 sp., ch3picot,
ch4, 1sc into next ch4 sp., ch3picot,
ch1, 1dc into 2nd ch of last ch4.
Row 14: ch4, turn, 1sc into next ch4 sp., ch1, 1dc into 2nd ch of last ch4.
Row 15: ch1 (doesn't count as a st.), turn, 2sc into same ch sp., 1sc into next st., 1sc into last ch4 sp., 1sc into 2nd ch of last ch4 sp. (5 sc)
Row 16: ch1 (doesn't count as a st.), turn, 1sc into each st. (5 sc)
Row 17 - 39: repeat Row 16!
Fasten off, leaving a tail (approx 20 cm long) for sewing the straps.
Second strap:
With the right side facing, join yarn to next ch4.
Repeat Rows 1 - 39 in the same manner as for the first strap.
Fasten off.
Bring both straps together so they line up evenly. With the wrong side facing, sew the straps together.
Sew / weave in all ends.

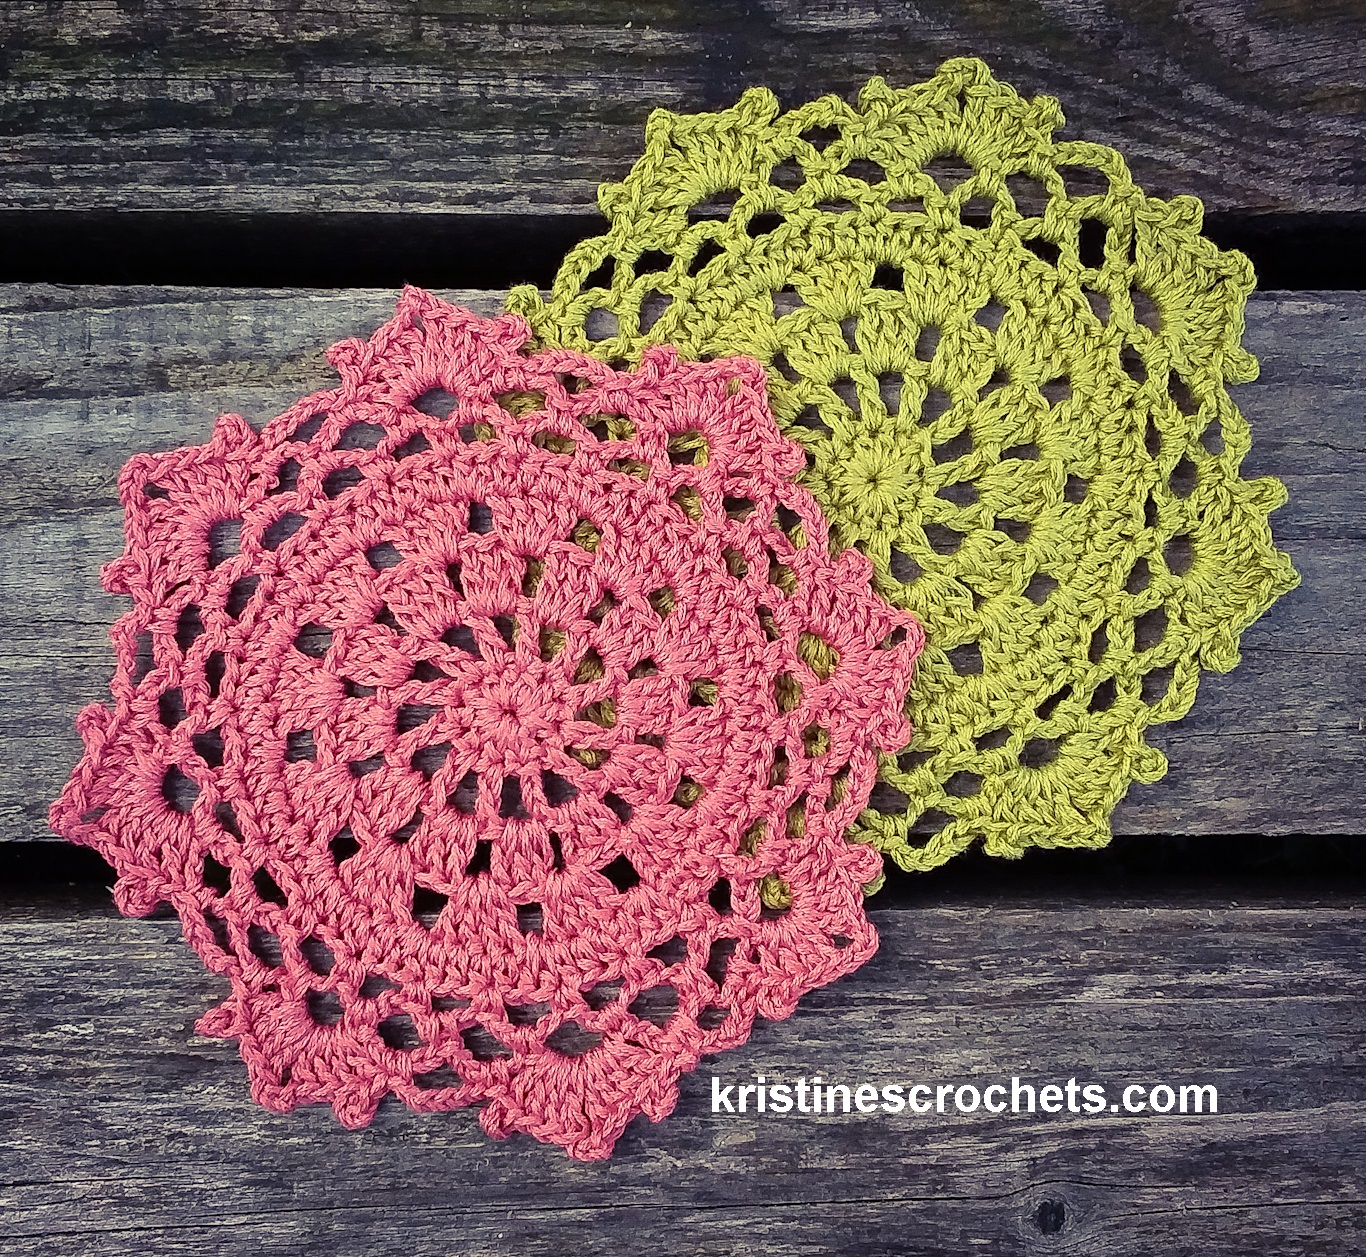
Other Crochet Bag Patterns You Might Enjoy:


The patterns on this website are my original designs created by me.
Please do not copy, rework, distribute, republish or sell my patterns and photos.
Do not create video tutorials free or paid.
Thank you!
©2023 KristinesCrochets


_edited22.jpg)